Find the Fifth Sage and Secret of the Ring Ruins walkthrough for Zelda Tears of the Kingdom
How to begin your journey to the Spirit Temple.


Find the Fifth Sage is a main quest in Zelda: Tears of the Kingdom and sets you on the path to finding the Spirit Temple.
Yet, if you want to progress through this quest, you first have to complete another, Secret of the Ring Ruins. This quest not only sees you visiting Kakariko Village and the southern regions, but the Thunderhead Isles and Dragonhead Island - some of the islands which dot the sky in Zelda: Tears of the Kingdom.
So read on to learn how to start Find the Fifth Sage and Secret of the Ring Ruins, along with how to reach the Thunderhead Isles and Dragonhead Island in Zelda: Tears of the Kingdom.
Hey! Listen! We’ve done our best to avoid major story spoilers, but this guide still contains minor spoilers!
On this page:
If you’d like to learn more about Link’s adventure in Hyrule, visit our Zelda: Tears of the Kingdom walkthrough.
How to start Find the Fifth Sage in Zelda Tears of the Kingdom
Find the Fifth Sage is a main quest in Zelda: Tears of the Kingdom, which, as the name suggests, sees you go on a quest to find the lost fifth sage so you can truly defeat Ganondorf.
It should be noted, however, that it is possible to find the Fifth Sage and the Spirit Temple before reaching this quest in the game’s storyline. If you’ve done this, then you’ll be treated to a funny scene where everyone is rather surprised at Link being ahead of the plot.
If you haven’t found the Fifth Sage yet, however, you first need to complete the Regional Phenomenon quest and find all of the Zelda locations during the Crisis at Hyrule Castle main quest and, afterwards, return to Purah. She will task you with investigating ruins for information on the age of legends and the Fifth Sage.

Depending on how much exploring you’ve done, you might already know where to go. If you don’t then it's time to head to the Ring Ruins in Kakariko Village.
Once there, they talk to Tauro and Paya, who will be standing close to the floating ring ruin which Zelda has barred people from entering. After talking to them, you will now be granted access to the floating ring ruin and start the main quest, Secret of the Ring Ruins.

If you’d like to learn more about the Ring Ruins, complete the A Trip through History side quest.
Secret of the Ring Ruins walkthrough in Zelda Tears of the Kingdom
Secret of the Ring Ruins in Zelda: Tears of the Kingdom can easily be divided into two acts - one on the ground and one in the sky. Below, we cover the section on the ground and, in the next section, we explore the sky.
How to start Secret of the Ring Ruins
Your first task in the Secret of the Ruin Ruins quest in Zelda: Tears of the Kingdom is to see if there is a stone slab inside the floating ring ruin. You do, however, need the Camera for this quest, so, if you don’t have it yet, make sure you complete Camera Work in The Depths.
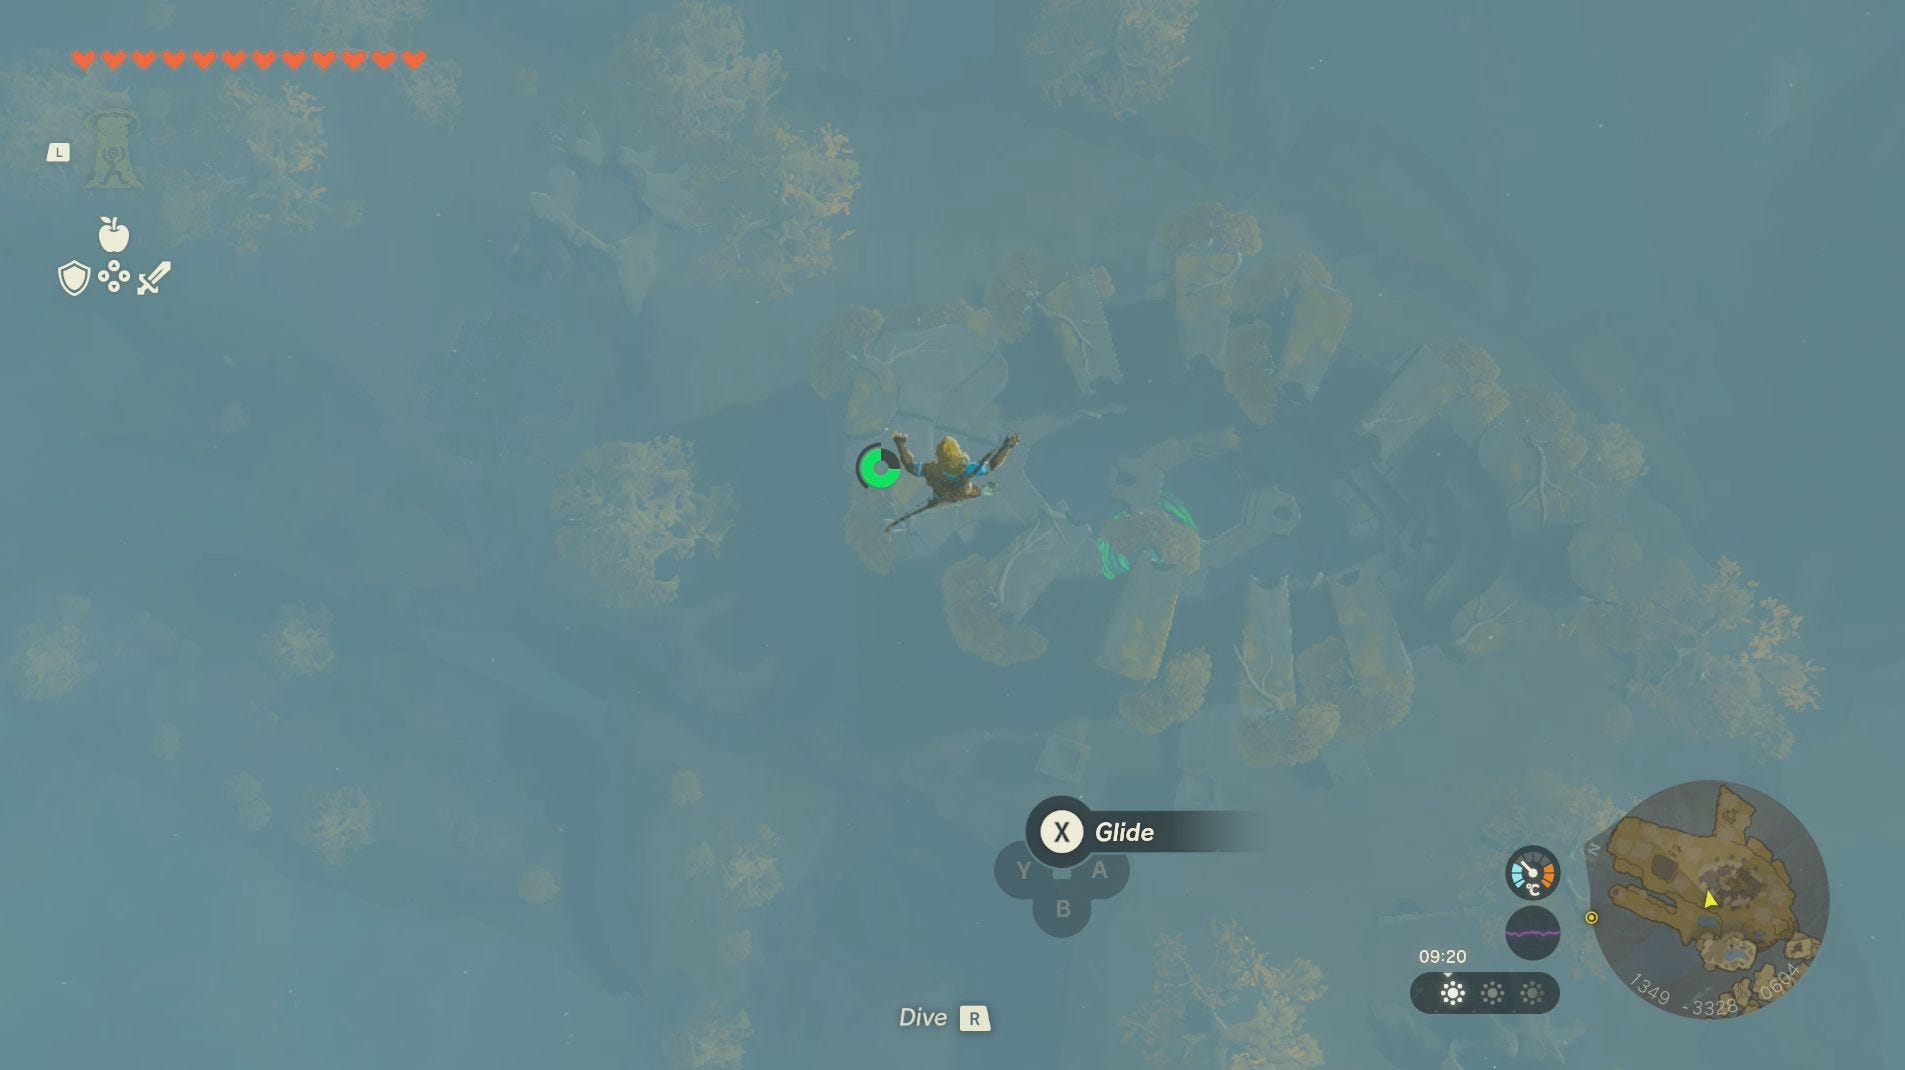
Thankfully you have the power of Ascend on your side, so go up the hill to the right of the ruin until you reach the wooden platform which sits directly beneath it. Climb up the ladder and walk onto the platform so you can use Ascend to enter the ruin.


Once inside take a picture of the stone slab and, afterwards, use Ascend to leave the ruin and glide back down Tauro.

Tauro’s location
After talking to him, he’ll head to the Popla Foothills Skyview Tower. If you’ve already unlocked this tower, you can Fast Travel straight there.

If not, then you will need to head south-west of Kakariko Village. We recommend following the road south out of the village to the Dueling Peaks Stable and, once there, heading west until you’re past the peaks and can see the tower to your south. If you head directly south-west, you’ll have to do some mountain climbing!
Talk to Calip at the Skyview Tower and he’ll tell you that Tauro has already headed to Dracozu Lake, which is south-east from your current location.

You can easily reach the lake by either heading south-east over the hill or fast travelling to the Jiukoum Shrine and then paragliding down into the Zonai ruin directly south of the shrine. When you reach the cliffs surrounding the Zonai ruins, you should be able to see a little campfire in the distance - this is where you need to go!

At the camp, you’ll find a note from Tauro explaining that he’s gone into some nearby ruins, which you’ll easily be able to see nearby.

Inside the ruins, talk to Tauro and he will translate a riddle for you:
'Wear the electric garb hidden at long-necked dragons along the wide-mouthed forest serpent. Offer a Zonai charge to the altar at the tail.'

How to solve the riddle
The first step in completing this riddle is finding all three pieces of the Charged Armor Set, which we cover in our how to get the Charged Armor Set guide.
After you’ve gathered all three pieces of the armor, follow the river until you reach its end and find another set of Zonai ruins. Once there, head towards the large tree growing atop a rock and, behind it, you’ll find another open Zonai ruin.

Go inside this ruin and, while wearing the complete Charged Armor Set, place a Zonai Charge upon the altar. If you don’t have a Zonai Charge you can collect one by defeating the nearby Soldier Constructs. Don’t worry about losing the Zonai Charge - you can pick it back up after the cutscene.

You’ll have now removed the clothes surrounding the Thunderhead Isles and the Dragonhead Island, which brings you one step closer to the Spirit Temple.
How to reach Dragonhead Island and the Thunderhead Isles in Zelda Tears of the Kingdom
Before you can reach the Spirit Temple in Zelda: Tears of the Kingdom you must first visit Dragonhead Island, which sits amongst the Thunderhead Isles above the Faron region.
Depending on how much Stamina you have, you may be able to reach Dragonhead Island by using the Rabella Wetlands Skyview Tower and then gliding, using the Vow of Tulin as you go, until you reach the island. You still may need to use some Stamina Elixirs and, even then, if you haven’t been upgrading your Stamina this method may still be quite difficult. If you haven’t completed the steps outlined in the section above, then visibility for this area will also be quite bad.

If you’d rather take the long way round, then head to the Popla Foothills Skyview Tower and, after shooting into the sky, start flying southward. We recommend using the Vow of Tulin here too as it will make it a lot easier to reach the islands sitting at higher levels.

It’s also important to note that there is a constant thunderstorm in the Thunderhead Isles. This means that, not only will you have trouble climbing thanks to the rain, but you need to keep an eye out for lightning strikes and remove any metal equipment to avoid attracting lightning to Link.

Navigating the Thunderhead Isles
Ideally, the first sky island you land on should be the one containing a pool of water.


From here, you need to glide roughly south-east to an island where you’ll be able to use Ascend to reach the islands that sit higher in the sky.

After doing so, stand on the nearby plinth and wait for lightning to hit the nearby dragon head statue. This will cause the plinth to move and, in doing so, send Link into the sky allowing you to fly to the nearby island.

Now head to your left to the next island where you can use Ultrahand to create a wooden bridge from the nearby planks to cross over to the gap.


Be aware that there is a Thunder Wizzrobe awaiting you on the next island and, depending on your gear, you may be at risk of attracting lightning, so you may want to avoid it. Whether you fight it or not, you will want to continue going forward by dropping down to another island.

Now head to the rail tracks where you’ll have a choice - you can either use the platforms which have already been created, but attract lighting or you can make your own T-shape platform to sit on the tracks out of the wooden boards. No matter which one you pick, make sure you place it on the tracks carefully and then attach the nearby Fans to push you along the tracks.

At the end of the tracks, use Ascend beneath the little cliff to reach the top. Here you’ll find yourself on another small island and, through a grate, you’ll be able to see a shrine. You need to reach this shrine, but can’t do it from here. While you’re on this island though, use the nearby crates to create a ladder-like structure so you reach the chest containing a Shock Emitter.


Next, you need to glide down to the island south-west which has two Soldier Constructs upon it. After defeating them, create another T-shaped platform and place it upon the tracks. As you travel on this new platform, however, make sure it stops beneath the island in front of you, so you can use Ascend.


If you do it correctly, you’ll appear outside of the Joku-usin Shrine. We recommend activating the shrine for its Fast Travel point and, afterwards, head up the stairs at the far end of the room so you’re close enough to the ceiling that you can use Ascend.

Afterwards, drop down from the roof to the floor below. Here you’ll see a circular building to your left, which is where you need to head towards next.
You need to use Ascend by standing atop one of the metal boxes inside this building, so you can reach its roof. While you can bring one of the boxes closer using Ultrahand, you can also choose to defeat the three Like Likes inside. This will allow you to safely open the chest inside the room, which contains a Big Battery.

Either way, when you’re on the roof, use the wheel to move the plinth so that it’s pointing towards the south-east and then stand in front of it. When lightning hits the near dragon head statue, you will once again be sent into air.

Now, if you have enough Stamina, you’ll be able to fly east to Dragonhead Island. You can also use the Vow of Tulin and Stamina-based elixirs to keep flying. If you don’t have enough Stamina, then you will need to continue travelling across the islands until you’re able to simply glide down.

Dragonhead Island
Upon reaching Dragonhead Island, head to the central building and drop down to where the Joku-u Shrine sits. It’s a Rauru’s Blessing Shrine, so head inside for an easy Light of Blessing and a chest containing a Diamond.

With your shrine business completed, set fire to the vines directly opposite its entrance. Now you need to try and open the giant door at the end of this new room.

This door looks very similar to the one in the Temple of Time back at the beginning of your journey on the Great Sky Island and, like these doors, you will need a certain number of hearts to open them.
You will need 10 hearts to open the door and, thankfully, you will be healed once the door is opened.

If you don’t have enough hearts, but do have four Light of Blessings, then there is a Goddess Statue nearby where you can exchange them for another Heart Container. Otherwise, you’ll need to either respec at the Cursed Statue depending on how much Stamina you have or complete more Shrines - thankfully our Shrine locations guide will help you find them.
When you do open the door, you’ll find an odd looking mask on the other side, which, if you’ve completed the Dragon Tears memories, you might recognise. Go up the set of stairs and examine the mask.

With that Secret of the Ring ruins will be completed and a new main quest, Guidance from Ages Past, will begin. You're one step closer to the Spirit Temple!
If you’d like to learn more about Link’s adventure in Hyrule, visit our Zelda: Tears of the Kingdom walkthrough.